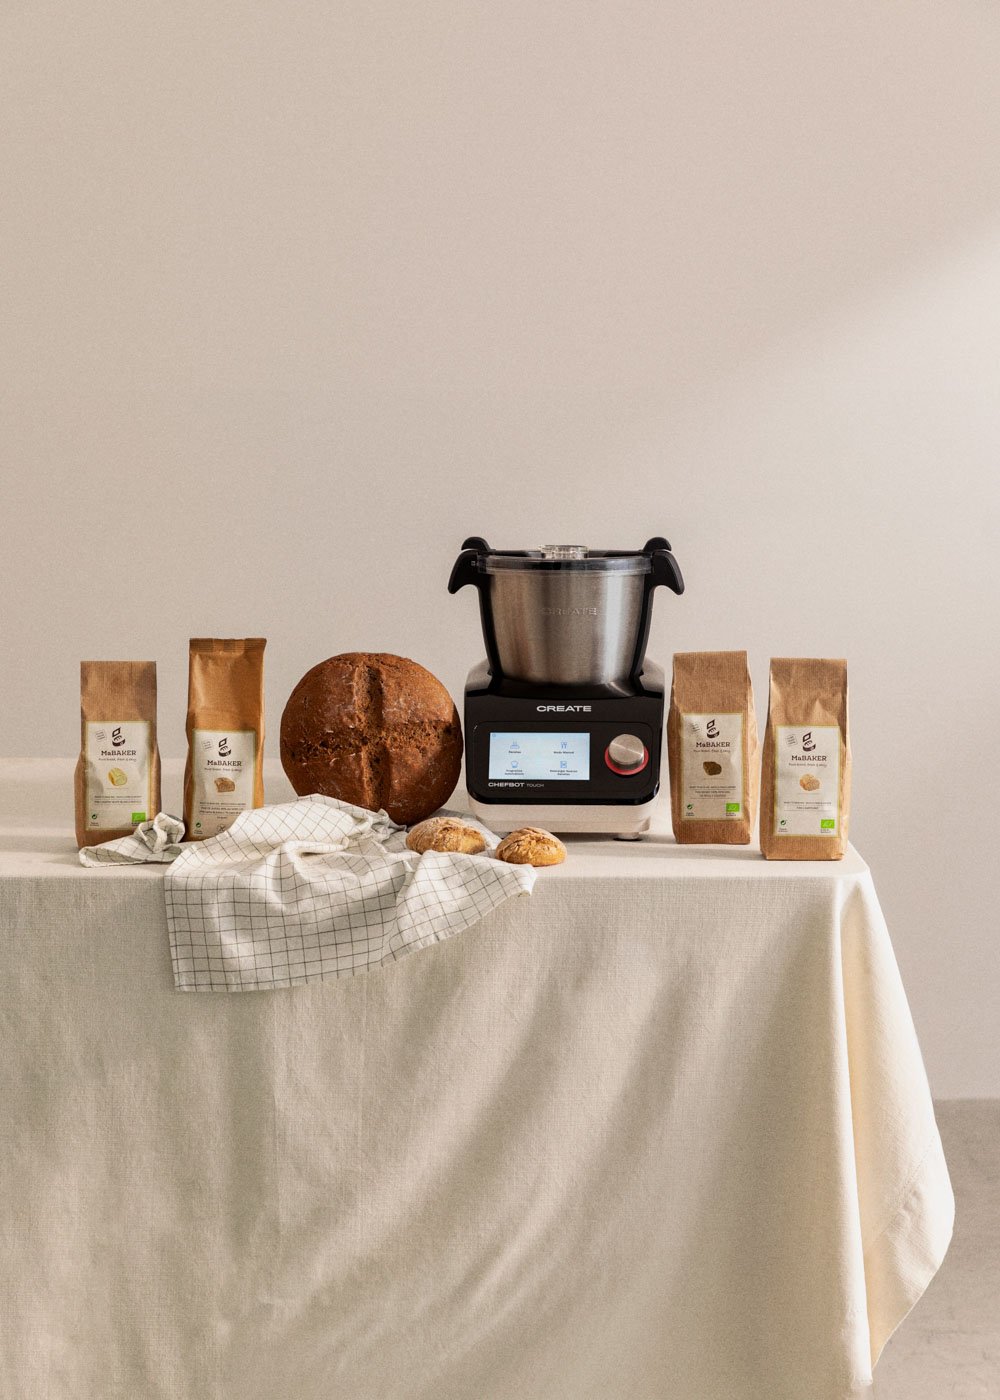
Our organic bread premixes are ideal for making bread very easily with the CREATE CHEF BREAD ® . This is because its cycles and programs have been previously adjusted and tested according to the premixes so that the bread always turns out well and you can just forget all about it. The ingredients are already mixed in the right proportion and the bread maker will take care of kneading, rising, resting and baking at the appropriate times and temperatures. But you can also use the bread premixes to easily make different breads with your CREATE CHEFBOT TOUCH ® , using the kneading automatic program to make the dough, then bake the bread yourself directly in your oven.
Productos con los que prepararla
Ingredients
- 1 package Bread mix
- Water ( according to packaging)
Instructions
- Just follow the same steps as indicated on the mix package and add the content of the package into the mixing bowl of your Chefbot Touch ® together with the indicated water and one sachet of MaBAKER ® organic yeast. It is recommended to first add only the water for 1 minute at 37º, speed 1, and then add the rest of the ingredients.
- Use the automatic kneading program on your Chefbot Touch ® with the blade accessory, 4 minutes, speed 1. Once finished, leave the dough to rest in the mixing bowl for another half hour (remove the lid and cover with a clean cloth)
- Then remove the dough with floured hands and knead it by hand for a few more minutes, stretching and folding it again. Form a ball and place it in a bowl covered with a cotton cloth. Leave the dough to rise and rest until it doubles in volume, about 2 hours. For the gluten-free bread mix, as the dough is wetter and stickier, it is advisable to grease your hands well with oil to work the dough better and to help yourself with a spatula to remove the dough from the bowl.
- Preheat the oven to 220ºC (with heat only at the bottom), and for an extra-crusty crust and a great rise, add steam to your oven by placing a bowl or an oven tray with water in the base of it. Another option is to spray the walls of the oven with water just before putting the bread in.
- Gently place the bread on baking paper so that the fermentation process does not slow down, and place it all on a baking rack.
- Before putting the loaf in the oven, you can make a few cuts on the surface with a sharp knife to break up the crust. To make the crust look nicer, you can also sprinkle a little flour on top or brush it with a little olive oil. You may also cover the loaf with seeds, gently moistening the surface a little to help them adhere and pressing lightly.
- Place the rack with the dough in the oven at medium-high level and pour some more boiling water (about half a glass) back onto the bottom tray. It is important to do this quickly to contain the steam inside the oven as much as possible.
- First bake for about 10-15′ at 210º (always without fan). During this time the heat and humidity will cause the dough to expand and break through the cuts. Afterwards, take out the lower oven tray or bowl with the remaining water. Wear good oven gloves during all the process to shield your hands and arms from the steam.
- Lower the oven temperature to 190º, now with heat up and down, for a further 15′. If you like a thicker or a darker crust, leave it for an additional 5′ or 10′.
- Let the bread cool on a wire track before slicing
Notes
Optional: if you prefer to make baguettes or small loaves of bread instead of a big loaf, just form the balls or baguettes as desired once the dough has doubled its size and let the portions rest for another half hour to allow them to rise again. To decorate the surface, follow the same steps as above.
IMPORTANT NOTE: The baking instructions are for guidance only, as each oven is very different, so you may have to make small adjustments to the time or temperature to achieve the desired result.
IMPORTANT NOTE: The baking instructions are for guidance only, as each oven is very different, so you may have to make small adjustments to the time or temperature to achieve the desired result.